For this week's Four Ways Friday, I closed my eyes, reached onto the stamp shelf, and pulled out the
Charming stamp set! Sometimes chance is the greatest inspiration!
Small, decorative stamps lend themselves really well to making background papers! Here I used the small decorative stamp from the Charming set and stamped it multiple times in Marina Mist, Early Espresso, Pretty In Pink, Pink Pirouette and Rose Red onto Very Vanilla card stock. I then crumpled the paper and sprayed it with a mixture of alcohol and champagne shimmer paint in a spray bottle. I sewed the panel to a Pink Pirouette background and then sewed those layers to the Marina Mist card. I stamped the greeting from Thank You Kindly with Early Espresso on Pink Pirouette card stock. I then sewed around and around with the sewing machine. I added the panel to the card with dimensionals and then added the Rose Red button with the tied crochet thread using glue dots.


It can be easy, at times, to overlook the beauty and simplicity of ink and paper alone. Here I used sticky notes to create a mask around a central square of space and then stamped everything inside the masked area - the words, the butterfly, the flowers, the flourish frame - all using Basic Gray ink on Whisper White card stock. I stamped "create" on a small piece of Whisper White card stock, cut it out and mounted it on the card with dimensionals. I added the tiniest touch of dazzling diamonds to the flower centers.

The floral image in this stamp set is so elegant! Here inked the stamp, multiple times, using my Rich Razzleberry and Old Olive markers. I stamped the image 4 times on the card and then added dazzling diamonds to the flowers using 2-way glue. I stamped the flourish frame and the greeting from Short & Sweet onto Whisper White card stock and punched it out with the extra large oval punch. I sponged the edges with Rich Razzleberry ink and then added it to the card front with dimensionals.
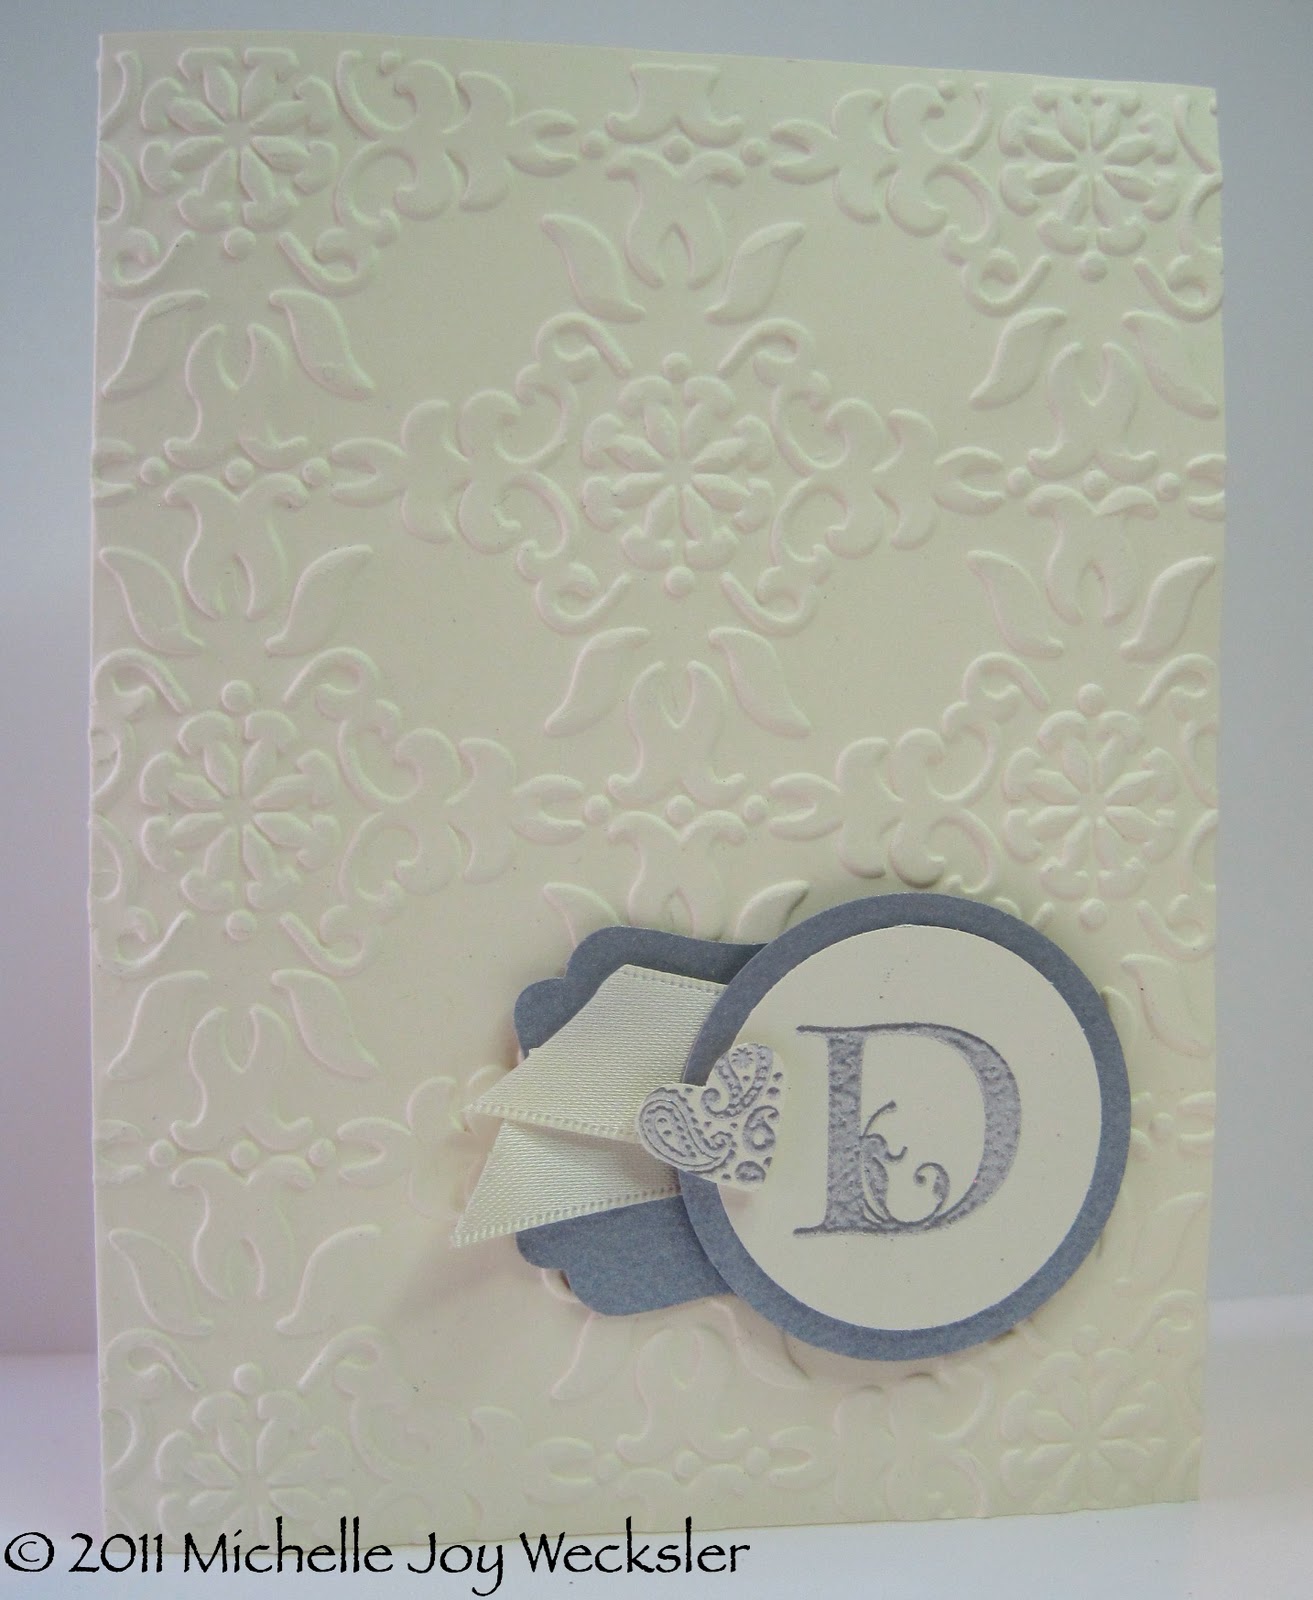
This card began with Natural Ivory card stock as the base. I then stamped the circular decorative image with VersaMark using my stamp-a-ma-jig. I heat embossed with white embossing powder and repeated the stamping and embossing two more times. I added rhinestone jewels to the centers of the embossed images. The sewing came next - a bit of back and forth with two different sized stitches. Finally, I stamped the greeting from Curly Cute using Early Espresso ink. Here is a close up of the embossing.
I hope you've enjoyed this week's Four Ways Friday! I hope I've inspired you to look at the Charming stamp set in some new ways!!!! Have a wonderfully creative weekend!